搭建博客
-
注册GitHub,建立博客仓库,设置ssh等
-
下载git,ruby,jekyll
-
git push命令
git add --all
git commit -m "Firs Push"
git push -u origin master
运行博客
修改后在命令行(cmd)中输入
bundle exec jekyll serve
遇到的问题
- jekyll serve命令,不能连接到127.0.0.1:4000错误 jekyll的版本问题:从 Ruby 3.0 开始 webrick 已经不在绑定到 Ruby 中了,请参考链接: Ruby 3.0.0 Released 中的说明。 webrick 需要手动进行添加。 添加的命令为:
bundle add webrick
添加后就可以解决这个问题了。
-
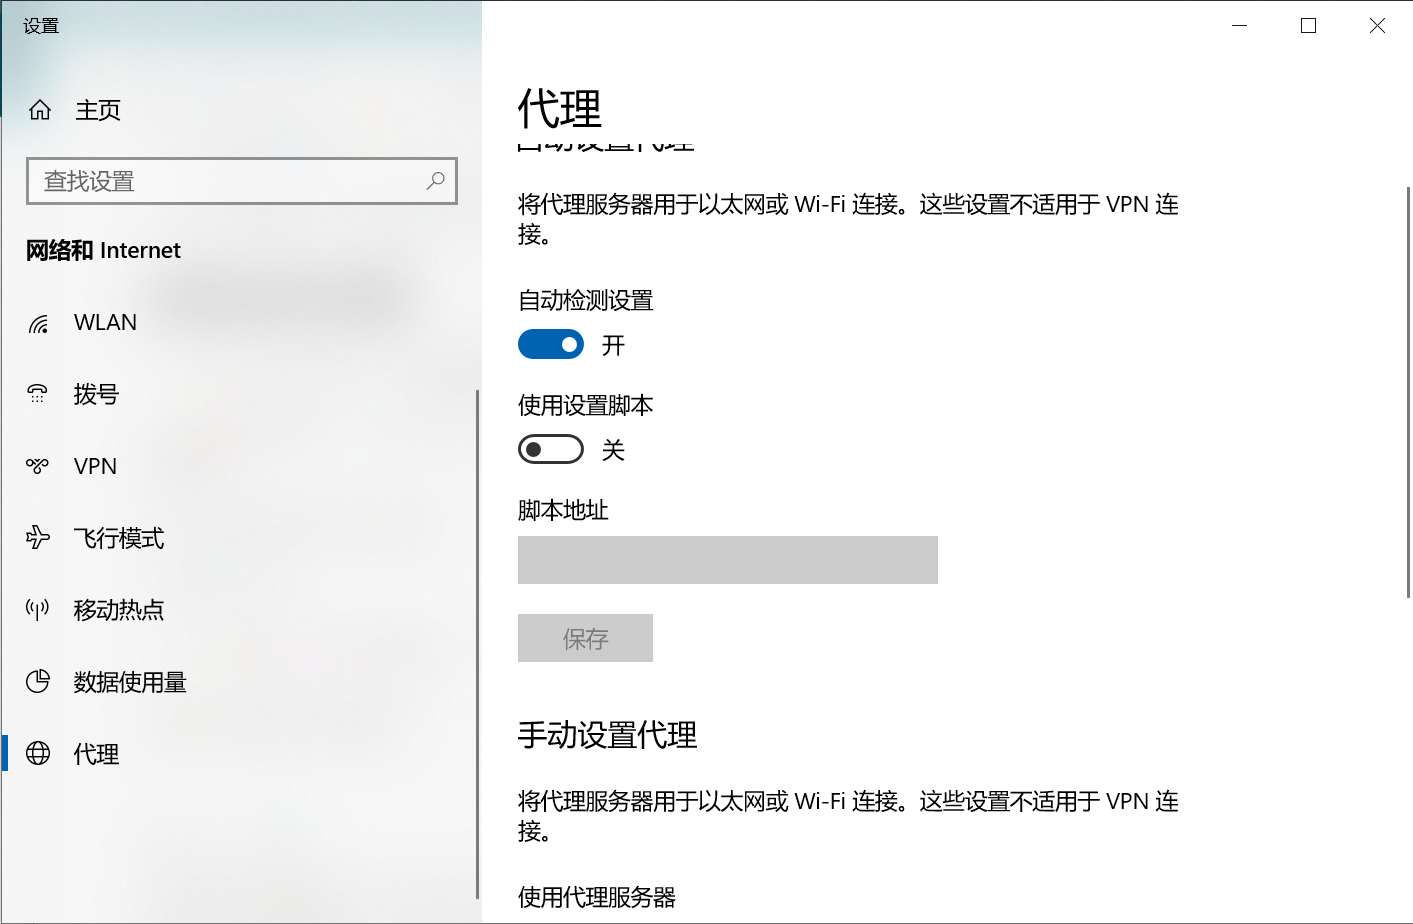
git push超时 关代理,把网络设置中的自动检测设置打开
改hosts文件吧,比较快,https://blog.csdn.net/CynthiaLLL/article/details/106611164
这是个玄学问题,有时候关了也能push上去,奥义是多push几次。。。 超时的解决办法
- 插入公式
在markdown文档首部添加
<script src="https://polyfill.io/v3/polyfill.min.js?features=es6"></script> <script id="MathJax-script" async src="https://cdn.jsdelivr.net/npm/mathjax@3/es5/tex-mml-chtml.js"></script> - 插入图片
 - 插入内部链接指向自己的文章
[展示在网页上的标题名称](/%E6%95%B0%E5%AD%A6/2021/10/07/Symmetric-matrix.html) - 插入外链,markdown支持html语法。
<a herf="">标题</a> - _posts文件夹下的文章,名字要是全英文,不然会出现乱七八糟的错误,比如无法链接
- 插入大纲,在文章开头加入这个
* awsl
{:toc}
参考资料
- ruby下载及镜像源
https://blog.csdn.net/qq_42451091/article/details/105483983 https://www.cnblogs.com/Sunshine-boy/p/4801366.html https://blog.csdn.net/qq_33648530/article/details/82735325
- 安装jekyll
https://blog.csdn.net/qq_27032631/article/details/106156088
- jekyll的版本问题导致无法访问127.0.0.1:4000
https://blog.csdn.net/huyuchengus/article/details/121002469
- 博客教程:
如何在 GitHub 上写博客? - 少数派的回答 - 知乎 https://www.zhihu.com/question/20962496/answer/677815713
- 博客中插入图片:
Jekyll博客中如何用相对路径来加载图片? - Connor的回答 - 知乎 https://www.zhihu.com/question/31123165/answer/1213800887
- git push 超时:
https://blog.csdn.net/yy339452689/article/details/104040279 https://blog.csdn.net/u011476390/article/details/93411139 https://blog.csdn.net/xiaoxiamiqianqian/article/details/118439514 https://blog.csdn.net/weixin_41010198/article/details/87929622
终极解决方案:https://blog.csdn.net/CynthiaLLL/article/details/106611164
Ont.ResetEnable = 1; Ont.DisableTr069 = 0; Ont.CurUserName = “user”; Ont.CurLoginUser = 1; Ont.StrOntModel = “H10g-02”; Ont.displayInternetForUser = “0”; Ont.DisableLoidCfg = 1; Ont.ProvinceCode = “XJ_11”; Ont.SsidWebControl = 1; Ont.LogoutTimeout = 300000; Ont.LanNum = 3; Ont.UsbNum = 1; Ont.WifiNum = 1; Ont.SsidNum = 4; Ont.PotsNum = 1; Ont.ProtocolVer = 3; Ont.Webdevicename = “H10g-12”; Ont.dev_uplink_type = “Gpon”; Ont.QuickAuto = 0; Ont.SWVER = “V1.1.0.6”; Ont.SWHZ4VER = “H10g-12”; Ont.mesh_support = 0; Ont.rtk_smart_support = 0; Ont.bandsteering_support = 0; Ont.dot11k_support = 1; Ont.dot11v_support = 1; Ont.ft_support = 0;
var over; var loid; var password; var registered = 0; var btn_disabled = 0; over = 0; registered = 0; loid = “”; password = “”; gpon_pwd = “”; provinceType = 0;
var Tr069Config = {}; var LoidConfig = {}; var UserInfoCfg = {};
var loid_enable = 1; Tr069Config.AcsURL = “http://enterprisegw.cluster.local:8000/acs”; Tr069Config.AcsUser = “cpe”; Tr069Config.AcsPwd = “cpe”; Tr069Config.ConnReqUrl = “”; Tr069Config.ConnReqUser = “RMS”; Tr069Config.ConnReqPwd = “RMS”; Tr069Config.Inform = “checked”; Tr069Config.InformInterval = “43200”; Tr069Config.showSoap = “0” Tr069Config.DisConReq = “0” Tr069Config.OltAuth = “”; Tr069Config.Tr069Enable = “1”; Tr069Config.MdwUrl = “”; Tr069Config.SslEnable = “0”; Tr069Config.Sslcrtstatus = “0”; Tr069Config.Sslpemstatus = “0”;
LoidConfig.loid = “”; LoidConfig.password = “”; LoidConfig.preserv_previous_loid = “”;
UserInfoCfg.loid = “”; UserInfoCfg.password = “aDm8H%MdA”;
- D42493CMCC583D2342